

What you'll accomplish
Learn how to set your workspace timezone in Vocalis and confirm the result before moving on.
Who this is for
This guide is for new solo creator, small-business owner, agency, non-technical founder. Use it when you are working in the relevant Vocalis workspace and can review the result before it moves forward.
Before you begin
Steps
1
Open the right place
Open Workspace settings in the workspace you intend to use. Confirm the content is approved and the intended destination is connected.
2
Review and complete the action
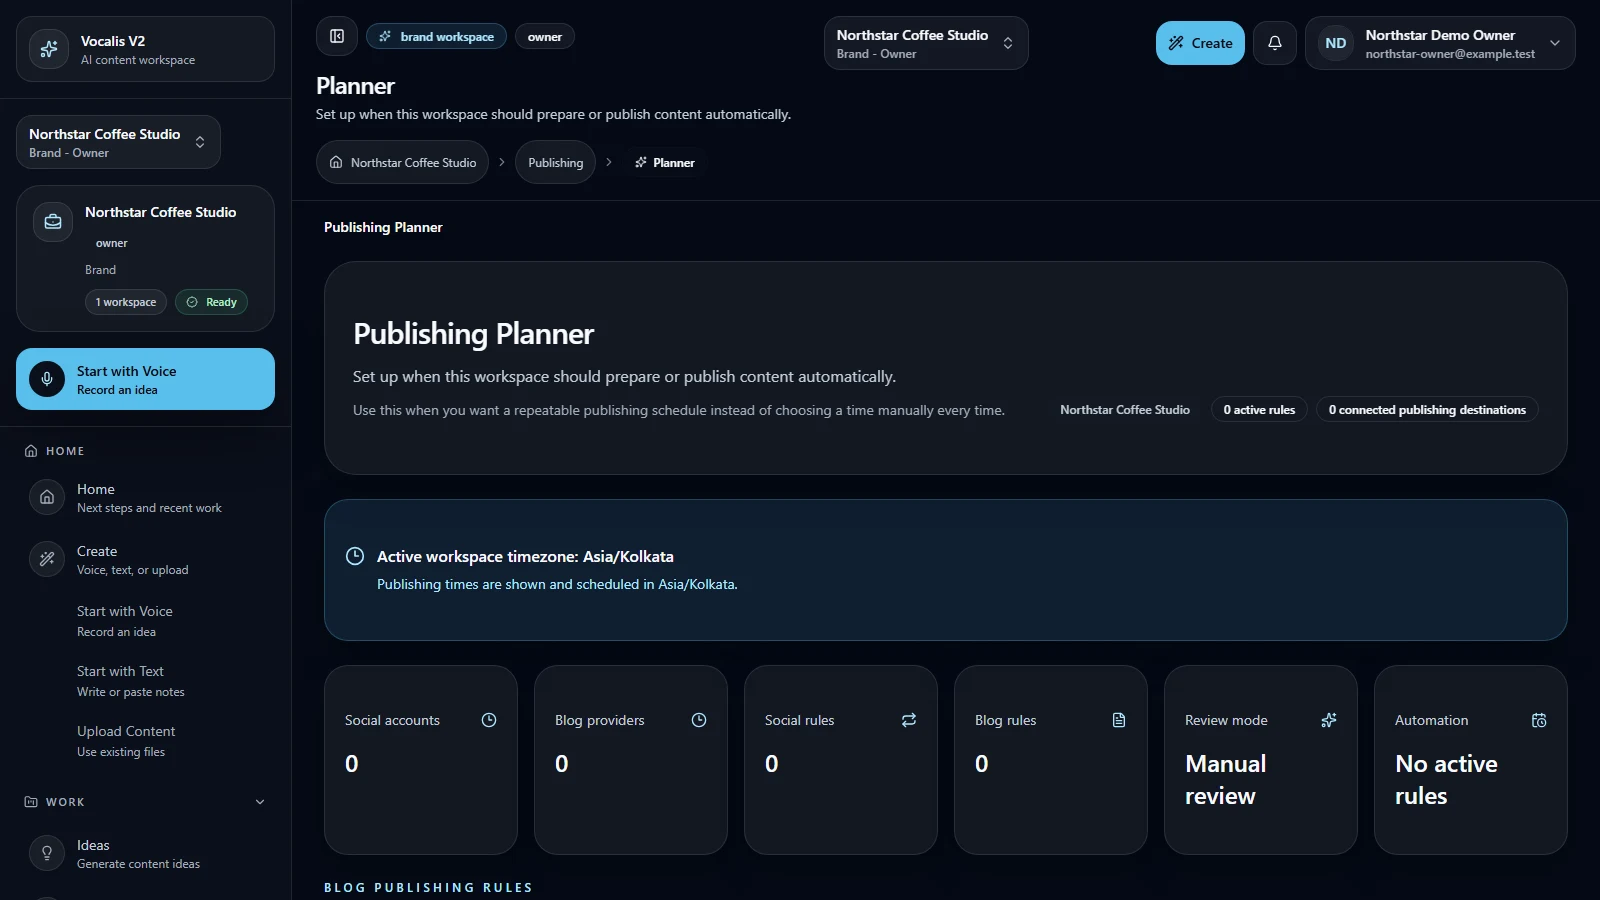
Review the workspace timezone, destination, and scheduled time.
3
Confirm the result
Submit the item and monitor its status in Planner, Queue, or Publishing.
What happens next
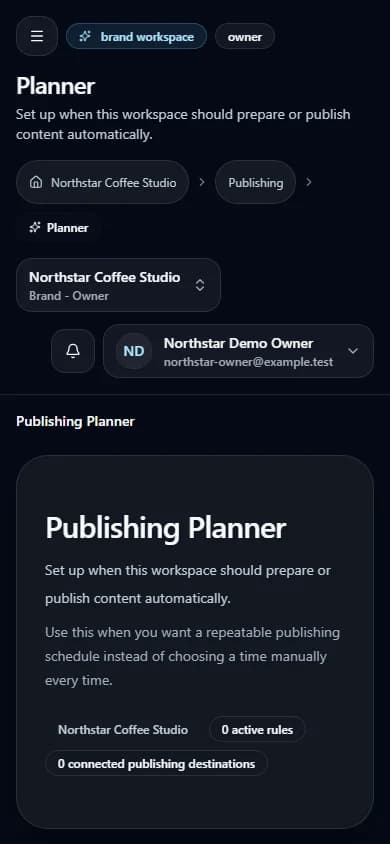
Planner displays and schedules workspace times using the saved timezone. Continue only after the displayed state matches the action you intended.
Troubleshooting
- Confirm that you are in the intended workspace and that your role allows the action.
- Recheck required fields, destination state, and any message shown on the page before retrying once.
- If the problem continues, record the route, approximate time, and exact message, then contact support. Do not send passwords, tokens, or full payment credentials.
Related guides
Last reviewed: 2026-09-16.